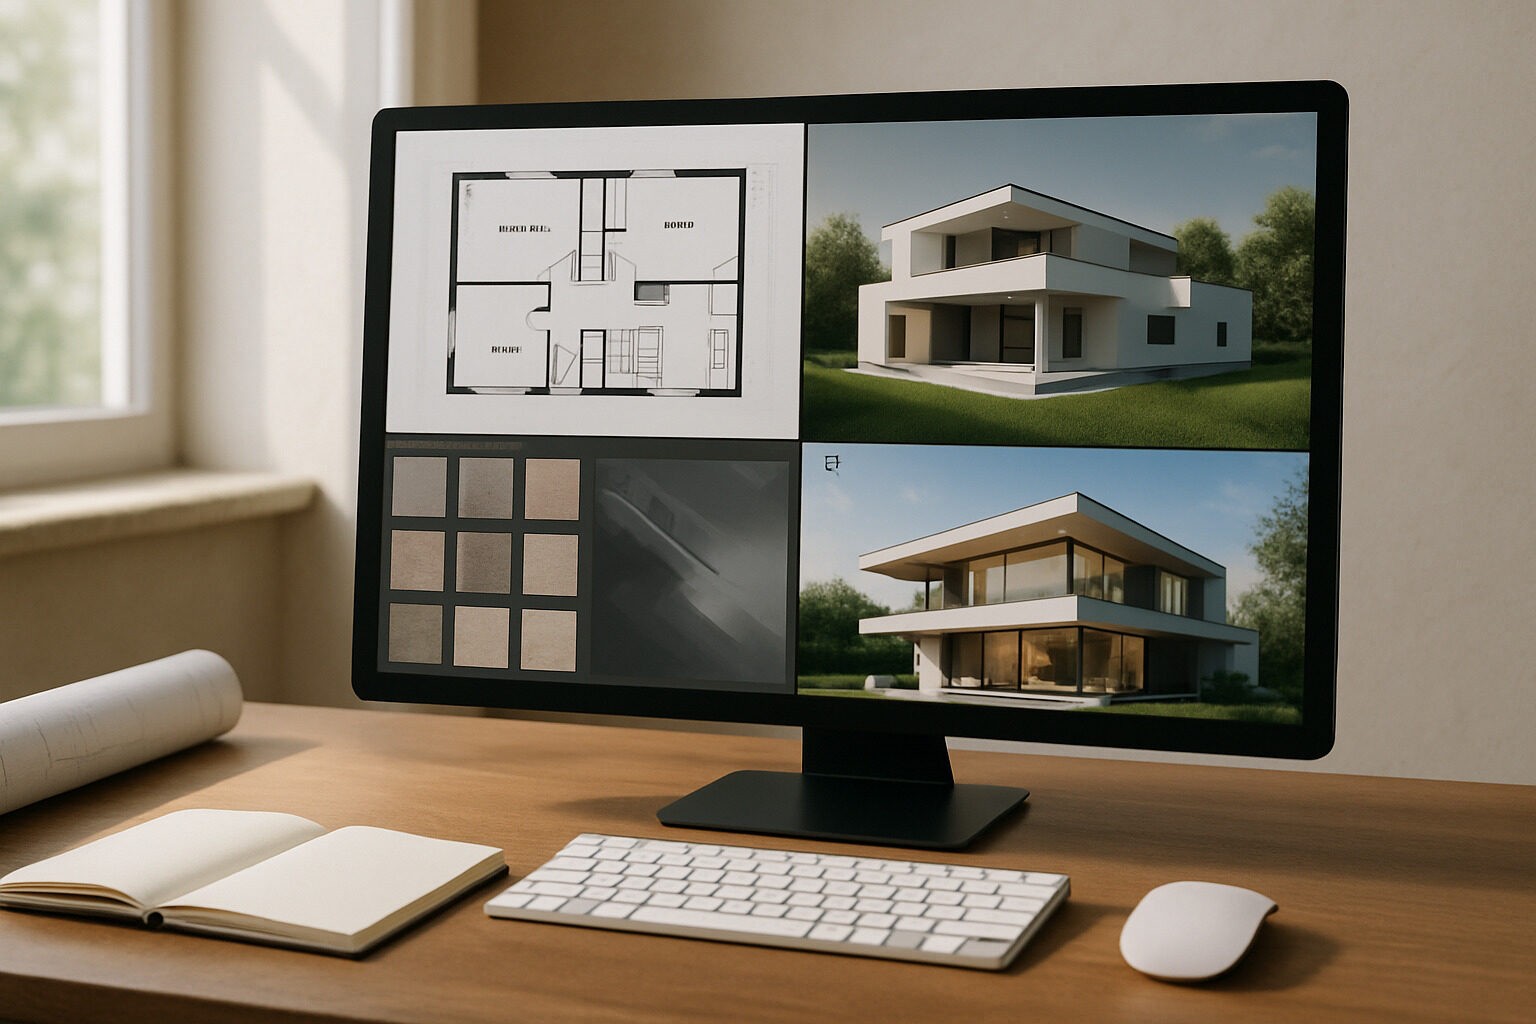
Consumer home-design software lets you draw a floor plan, raise it into a 3D model, and experiment with materials and furniture before you spend a dollar on construction. Whether you are using Home Designer-style desktop software or one of the many browser-based alternatives, the workflow is remarkably consistent across the category: set up the project, draw walls, place openings, review in 3D, then dress the model with materials and fixtures.
This guide walks through that workflow step by step. Because features and menus differ between products and versions, we describe the process in general terms you can map onto whichever tool you are using — always check your software's own documentation for the exact commands.
Before You Draw: Project Setup
A few minutes of setup prevents hours of rework. Most home-design applications ask you to establish these basics first:
- Units and defaults. Choose imperial or metric, and set default wall heights and thicknesses so every wall you draw starts out consistent.
- Reference material. Many tools let you import an image of an existing plan, a survey, or a hand sketch and trace over it to scale. If you are remodeling, measure your actual rooms first — twice.
- Scope. Decide whether you are modeling one room, one floor, or the whole house. Starting small keeps the learning curve manageable.
Design your own version
Describe the home you are imagining and our AI turns it into concept images in seconds. Your first design is free.
Generate a Design
Drawing the Floor Plan
The plan view is where most of the real work happens. The typical sequence:
- Exterior walls first. Draw the outer shell as a closed loop. Most programs snap walls to angles and grid increments, which keeps corners clean.
- Interior partitions. Divide the shell into rooms. Many applications automatically detect enclosed rooms and let you label them, which drives area calculations and sometimes automatic floor materials.
- Doors and windows. These usually come from an object library and are placed directly into walls, which cut openings automatically. Pay attention to swing direction and clearances.
- Stairs and levels. If your project has multiple floors, add them once the first level is stable. Aligning walls between floors matters for both realism and, in real construction, structure.
Work in small saves and name versions as you go. Exploring three layout options in separate files is far easier than untangling one file you have overwritten repeatedly.
Working in 3D Views
The 3D or camera view is where a plan becomes a space you can judge. Use it constantly, not just at the end. Walking a camera through a hallway reveals problems a plan hides: a corridor that feels tight, a window that lands awkwardly behind a sofa, a sightline from the entry straight into a bathroom. Most tools offer several view styles — full renders, plain shaded views, and sometimes a dollhouse-style overhead — and the plain views are often best for checking proportions without the distraction of materials.
Materials, Fixtures, and Furniture
Once the geometry is right, apply materials: flooring, wall finishes, countertops, roofing. A few habits keep this stage productive:
- Choose the palette before you start clicking. Two or three main materials used consistently will read better than a different finish in every room.
- Use furniture from the built-in library to test scale, even if the specific pieces are placeholders. A room that fits a bed, two nightstands, and a walkway is a real bedroom; one that only fits the bed is a drawing.
- Do not chase photorealism inside planning software. Its job is decision-making, not marketing imagery.
If you want to explore finishes and decor styles on a real photograph of your existing home rather than a model, an AI tool like our restyle tool can re-render a photo of your room in a different style in seconds — a fast way to test a direction before you rebuild it carefully in your design software.
Which Tier of Software Do You Need?
| Tier | Typical User | Strengths | Limitations |
|---|
| Free or browser-based planners | Homeowners sketching ideas | No cost, minimal learning curve, easy sharing | Limited libraries and export options |
| Consumer desktop suites | Serious DIY remodelers | Full 2D/3D workflow, large object libraries, terrain tools | Paid licenses; outputs are not construction documents |
| Professional CAD/BIM | Architects, designers, builders | Construction-grade documentation and coordination | Significant cost and training time |
| AI design generators | Anyone exploring concepts | Instant visual ideas from a prompt or photo | Inspiration, not dimensioned plans |
Most homeowners are well served by the first two tiers, using AI tools alongside them for inspiration. If your project needs permits, expect a professional to redraw your work in their own software — which is fine, because your model's job was to communicate intent.
Terrain, Exterior, and Site
Many consumer suites include terrain modeling: you can slope the lot, add driveways and planting, and see how the house sits in context. Even rough terrain helps exterior decisions, since a walkout basement or a raised deck only makes sense against real grade. Check sun direction if the software supports it — window placement decisions improve dramatically once you can preview morning and evening light.
Common Beginner Mistakes to Avoid
- Modeling before measuring. A plan built on guessed dimensions produces confident-looking nonsense. Measure the real space, including ceiling heights and window positions, before you draw a single wall.
- Ignoring circulation. Leave real walkways between and around furniture, and check door swings against everything nearby. Rooms fail in the gaps between objects more often than in the objects themselves.
- Decorating too early. Applying materials to a layout you have not stress-tested wastes effort twice — once now, and again after the walls move.
- Skipping the 3D check. If you only ever look at the plan view, you will approve spaces that feel wrong the moment you stand in them.
- One giant file. Save layout alternatives as separate versions so you can compare options side by side instead of destroying each idea to try the next.
Sharing and Exporting Your Design
Typical outputs include printable plan sheets, rendered images, and sometimes interactive walkthroughs or shareable web links, though export options vary considerably between products and license tiers. Before a meeting with a contractor or architect, export a dimensioned plan and a handful of 3D views of the decisions you care most about. Communicating three clear priorities beats handing over forty screenshots.
Pair Your Software With AI Ideation
Design software is precise but slow at ideation; AI is instant but imprecise. Use them together. Generate exterior or interior concepts with our AI architecture designer to settle the look you want, use the style quiz if you cannot name that look yet, then model the winning direction carefully in your home design application. The software answers "will it fit?"; the AI answers "what should it feel like?" — and a good project needs both answers.
Design your own version
Describe the home you are imagining and our AI turns it into concept images in seconds. Your first design is free.
Generate a Design