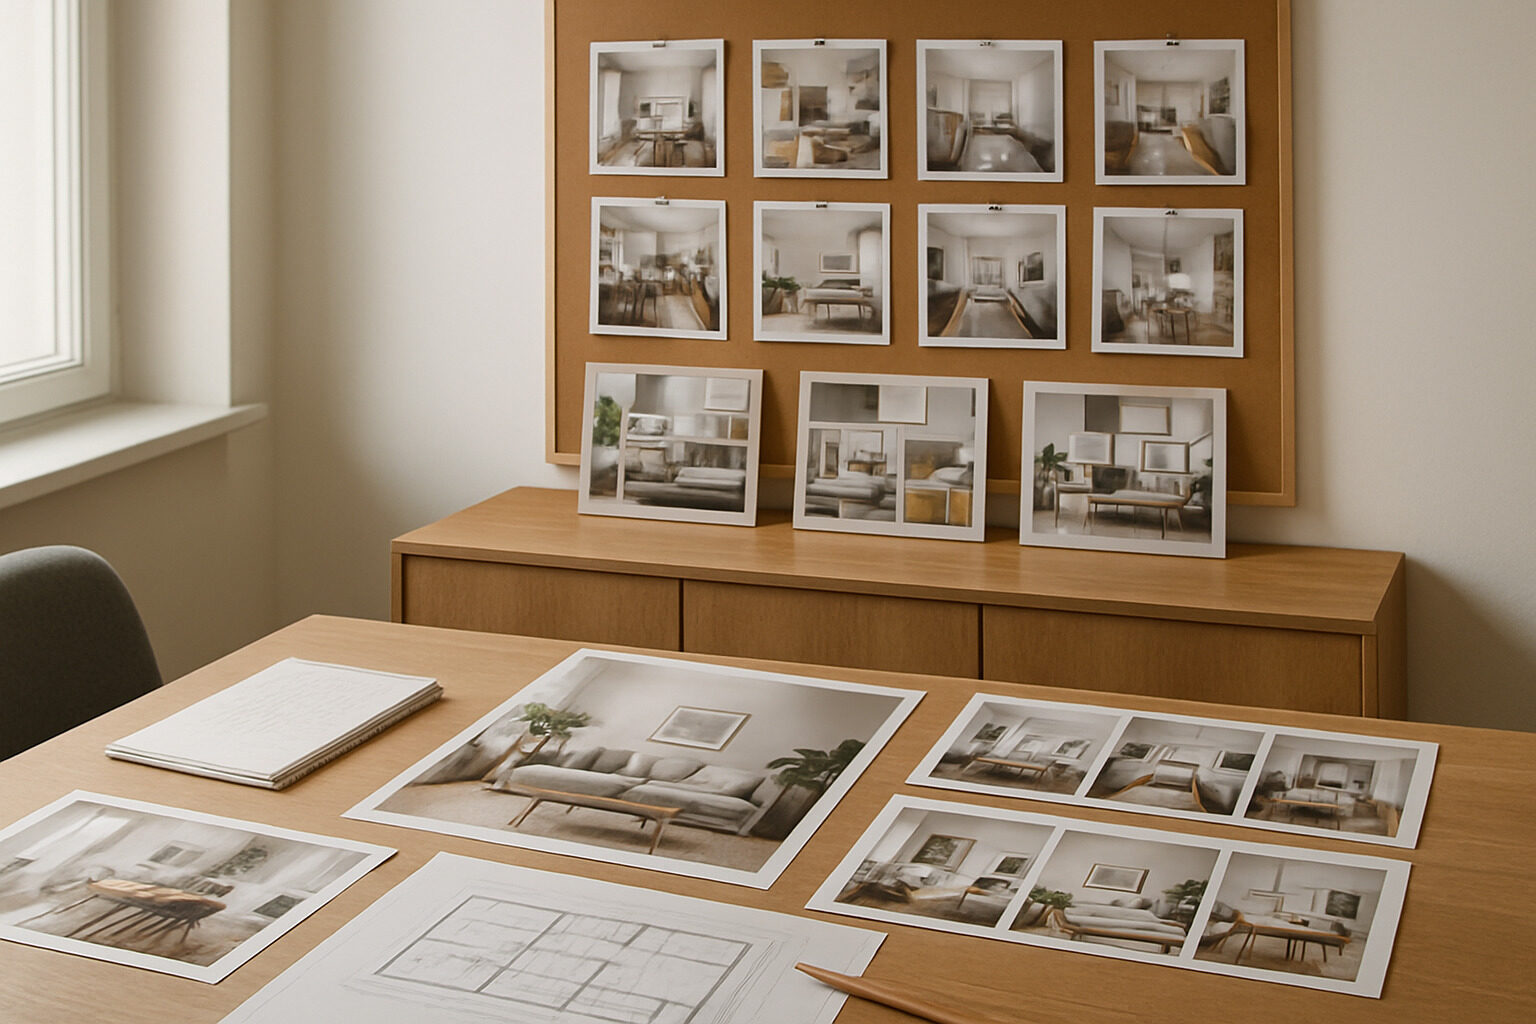
A set of home interior pictures is worth far more than any single inspiring image — because a set reveals patterns. One beautiful living room photo tells you what someone else's house looks like; thirty saved photos, examined together, tell you what you actually love: the colors you keep choosing, the amount of clutter you tolerate, the light you gravitate toward. This guide shows you how to collect, organize, and analyze sets of interior photos so they stop being idle scrolling and become a working design plan — and how to close the loop by testing what you have learned on pictures of your own rooms.
Whether you are furnishing a first apartment, planning a renovation, or just refining a room that feels off, the process is the same: gather widely, sort ruthlessly, read the patterns, then translate them into decisions.
Step 1: Build Your Picture Set the Right Way
Most people save inspiration images in a dozen scattered places — screenshots, social media saves, listing photos, magazine tear-outs. Consolidate them into one collection per project, and while gathering, follow three rules:
- Save fast, judge later. If an image makes you pause, keep it. Overthinking at the collection stage filters out exactly the honest, instinctive reactions you want to study.
- Save beyond your assumed style. If you believe you are a "modern farmhouse person," deliberately collect minimalist, traditional, and eclectic rooms too. Your saves will confirm or quietly correct the label.
- Capture whole rooms, not just vignettes. Styled corners are seductive but teach little about layout. A useful set mixes wide shots, detail shots, and in-between angles.
Aim for volume first — a few dozen images per room you are working on — because the analysis in the next step only works when there are enough pictures for patterns to emerge.
Restyle your own space with AI
Upload a photo of your room or home and see it reimagined in any style from this article. Your first restyle is free, no account needed.
Restyle My Space
Step 2: Read the Patterns in What You Saved
Now spread the set out — a grid view, a pinboard, or prints on a table — and interrogate it like evidence. Ask:
- What colors keep recurring? Not the colors you claim to like — the ones actually present in most saves. Note wall tones, wood tones, and accent colors separately.
- How much stuff is in these rooms? Count objects on surfaces. People are often surprised to find every room they saved is far sparser, or far more layered, than the home they live in.
- What is the light doing? Bright and airy, warm and dim, dramatic and directional? Lighting mood is one of the strongest hidden patterns in saved sets.
- What shapes dominate? Curved sofas and arches, or rectilinear frames and straight lines?
- What era signals appear? Vintage rugs, mid-century legs, contemporary slab fronts — mixtures included.
Write down the five strongest patterns. That short list is your real style brief, and it usually beats any label. If you would like a structured shortcut, our style finder runs a similar analysis interactively and names the styles your preferences map to.
Step 3: Organize the Set Room by Room
Once the overall direction is clear, split the collection into room-level boards, because each room asks different questions of its pictures:
| Room | Study in your picture set | Decision it feeds |
|---|
| Living room | Seating arrangements, rug size relative to sofa, media wall treatments | Layout and largest furniture purchases |
| Kitchen | Cabinet color and hardware, open vs closed storage, counter clutter level | Finish selections and storage plan |
| Bedroom | Headboard walls, bedding layers, window treatments, nightstand scale | Palette and textile shopping list |
| Bathroom | Tile pairings, vanity styles, metal finishes | Fixture and material coordination |
| Entry and mudroom | Storage built-ins, bench and hook arrangements, floor materials | Traffic-zone durability choices |
For entry spaces in particular, pairing your picture set with a layout-focused read like our mudroom layout tips turns pretty images into workable plans. For grander inspiration rooms, our breakdown of the modern mansion living room shows how to extract principles from spaces much larger than your own.
Step 4: Turn Pictures Into a Plan
A picture set becomes a plan when every image is annotated with why it is there. Go through each board and tag the specific thing that earned the save: "this wall color," "rug layering," "bench under window." Then compile the tags into a per-room action list — palette, key furniture silhouettes, lighting mood, three concrete changes. Delete every image whose reason you cannot name; if a photo is only "nice," it is noise. What remains is a mood board in the true sense: a small, dense set where every picture is an instruction.
Keep the set honest over time
Inspiration collections rot as tastes shift. Revisit each board at the start of any new phase of the project, prune what no longer resonates, and note what you removed — the discards chart your taste's direction of travel, which helps you avoid buying for a phase you are already leaving.
Taking Better Reference Photos of Your Own Rooms
Your own rooms deserve a place in the set, and the quality of those photos determines how useful the whole exercise becomes. Shoot in daytime with overhead lights off so the camera captures the room's true color temperature. Stand in a corner or doorway at chest height and keep the camera level — tilted shots distort proportions and make layout judgments unreliable. Take one wide establishing shot per wall, then close-ups of anything you are deciding about: the fireplace surround, the awkward alcove, the tired armchair. Photograph the room as it really is, mess included, at least once; the honest "before" is data about how the space is actually used, and it makes every comparison against your inspiration images more truthful.
Step 5: Test the Plan on Pictures of Your Own Home
The gap in every inspiration workflow is that the photos are of other people's rooms, with other people's light, proportions, and windows. Close that gap by making your own home the final picture in the set. Photograph each room straight-on in daylight, then use our AI restyle tool to re-render your actual room in the direction your analysis pointed to — the palette, style, and furnishing density you identified in steps two through four. Seeing your own space wearing the plan is the fastest possible feedback: sometimes it confirms everything, and sometimes it reveals that the moody green you loved in tall Parisian rooms fights your eight-foot ceilings. Either answer, before you have bought anything, is a win.
Restyled images of your own rooms also slot back into the picture set as targets — side-by-side "current" and "direction" pairs for each room make briefs unmistakably clear to partners, roommates, or any professional you bring in.
From Browsing to Building
The difference between endless scrolling and actual progress is structure: one consolidated collection, an honest pattern analysis, room-by-room boards where every image has a stated reason, and a reality test on photos of your own home. Run a picture set through that pipeline and it stops being a wish list and becomes the most useful design document you own — one you assembled entirely from things you already knew you loved.
Restyle your own space with AI
Upload a photo of your room or home and see it reimagined in any style from this article. Your first restyle is free, no account needed.
Restyle My Space